
How to Make a Sourdough Starter
A sourdough starter is made from only two ingredients: flour and water. They are simply mixed together and allowed to ferment at room temperature. As it ferments, colonies of yeast and lactic acid bacteria (LAB) are built up. It seems simple enough, but getting a sourdough starter going from stratch requires careful attention.
It is easy to get the mixture of flour and water to start fermenting (all you have to do is let it sit), but what is difficult is creating an environment in which the yeast and bacteria are in correct balance. Without the proper ratio of yeast to LAB, and LAB to other bacteria, the dough will not rise and will have offputting flavors. If the levels of yeast in the starter are really low, then there is also the possiblity of E. coli and other toxin-forming bacteria finding a home in there. Because of these risks, a starter should not be used to bake with until it is at least a few weeks old and has proven that it is properly balanced by its consistent behavior.
Choosing Flour
While there are only two ingredients in a sourdough starter, you can't just use any ol' flour. In order to produce a starter with life in it, you must use a flour that has life in it. While many people repeat the myth that a sourdough starter pulls wild yeast out of the air, creating a starter unique to your neighborhood, the reality is that the yeast originates in the field with the wheat, and thus comes from the flour.

So if the yeast in a sourdough starter is supplied by the flour, we must use flour that has living yeast on it. In order to make sure that your flour has life, you should buy the freshest organic whole wheat flour that you can find. Not some of those things, ALL of those things. I have created three successful starters from scratch (don't ask me how I eventually killed the first two) using Bob's Red Mill Organic Whole Wheat Flour.
Why Fresh Organic Whole Wheat Flour?
- Fresh, so that the yeast is still living
- Organic, so that the yeast was not killed with chemicals while the wheat was growing
- Whole Wheat, so that the flour contains the bran (outer part of the wheat kernel) upon which the yeast is found
Choosing a Container
A starter can be stored in a plastic, glass, or stainless steel container. Base metals (copper, brass, aluminum, etc) are not recommended as the acids in the starter can react with them. The container should be covered to keep foreign materials out, but also needs to accomodate expansion as the starter releases gases.
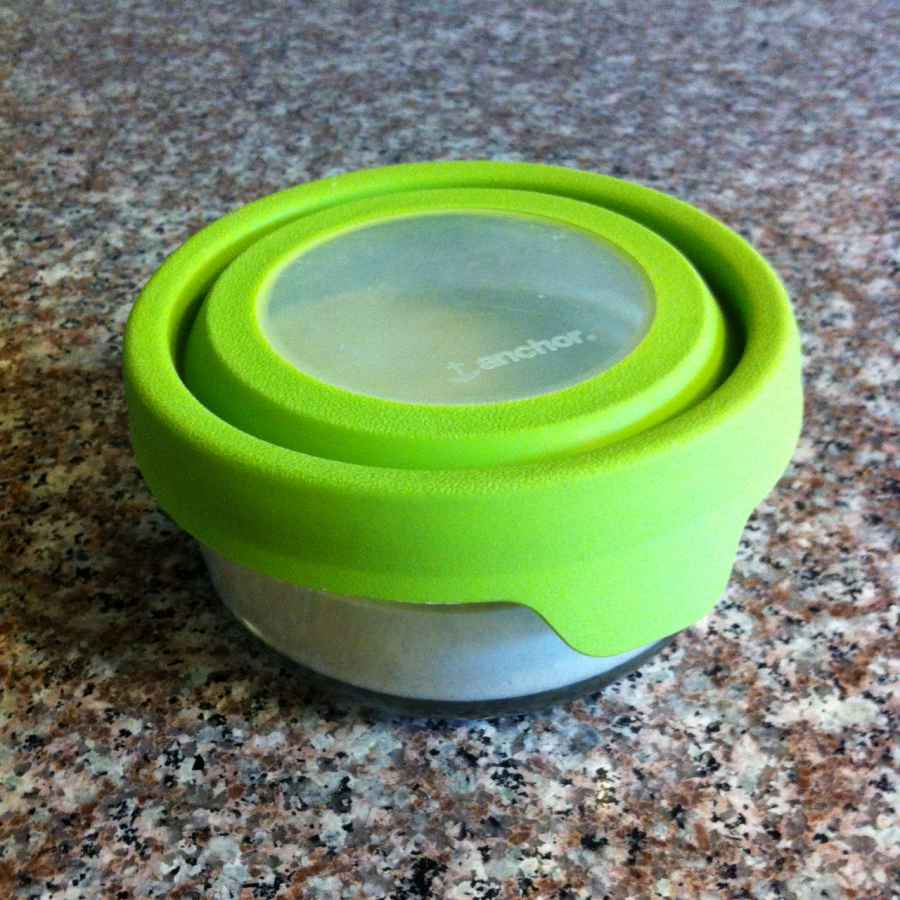
I use a glass container, with an expanding silicone/plastic lid. Storing the starter in a glass container allows you to easily see how much it has risen, as well as how many bubbles are present throughout the starter. The container should also be big enough that the starter can double in size and not overflow.
Measuring
Making and maintaining a sourdough starter involves repeated measuring of ingredients. In order to create a starter that performs in predictable manners, you should be accurately measuring every time you subtract or add flour and water to the starter. While you may be used to measuring ingredients by volume, it is much more accurate to measure everything by weight.
This sourdough starter calls for equal weights of flour and water, not equal volumes. A cup of water weighs more than a cup of flour, and a cup of packed flour weighs more than a cup of loose flour. So, if you want to be accurate (which you do), you must measure by weight. And if you're going to measure by weight, you should make it easy on yourself and use the metric system. Using the metric system makes scaling and interpreting numbers intuitive, and does not mean that you love 'Merica any less.
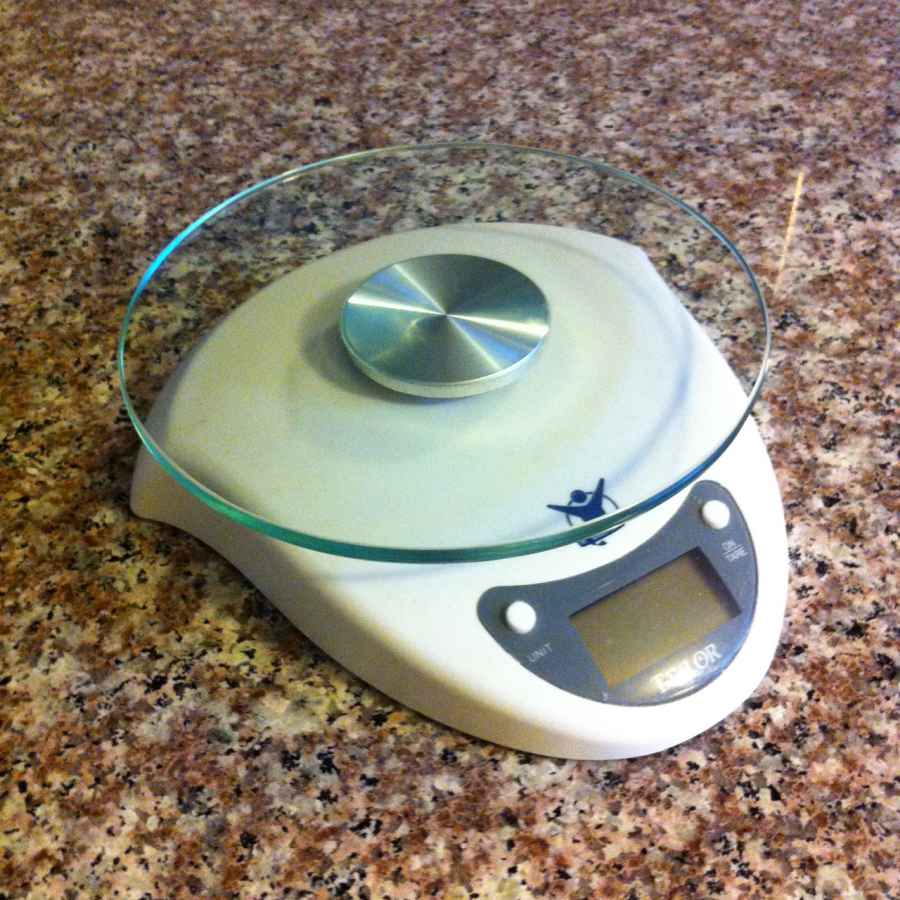
Unfortunately, measuring by weight using the metric system does mean that you have to get your hands on a scale. I use a digital scale that I bought from a kitchen supplies store for around $20. It can be set to standard or metric, and has a "tare" button which allows you measure from zero with each step of the ingredient adding process.
How Much Starter Should I Make?
My starter weighs 200 grams (about a cup in volume). With this amount of starter, I am able to make about 12 pounds of dough (enough for nine large pizzas), while still having enough starter left to refresh it. The amount of starter you need depends not only on how much dough you are making at a time, but also on how long you will be proofing the dough before baking it.
Because the flavor and health benefits of sourdough increase the longer it proofs, I generally make dough 24-36 hours before I intended to bake it. If you want to make dough that will be ready to bake in eight hours (the minimum amount of proofing time for it to really be considered sourdough), then you would need roughly 10x the amount of sourdough starter in the recipe. So, in order to make a batch of dough big enough for three large pizzas/loaves of bread that are ready to bake in eight hours, you would need to maintain a starter that weighs 600 grams.
The Process
- Mix equal parts flour and water in your container (100 grams of water + 100 grams of flour = 200 grams of starter) and let it sit at room temperature between 65-80°F. A room colder or warmer than this will substantially affect the fermenting times.
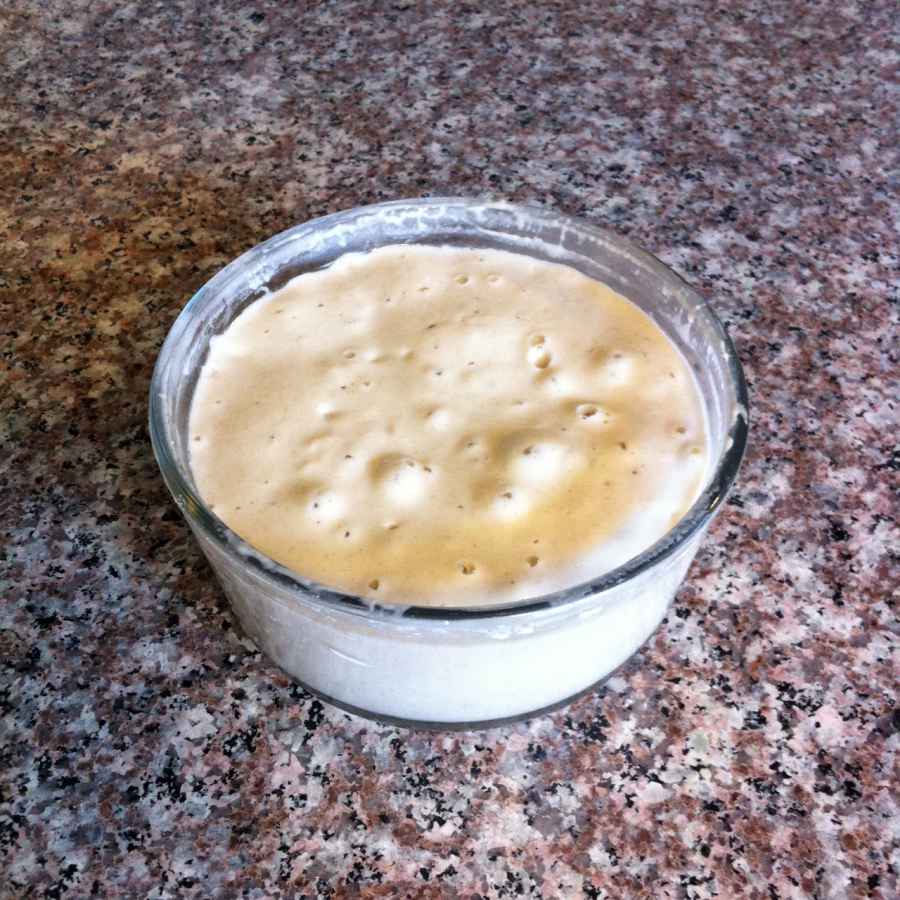
- Wait for it to become active. You will know that it is active when you see it bubbling and increasing in size. At these beginning stages it is possible for it to be active and bubbling, yet not really increase much in overall volume. That is OK. This activity should occur within 12-24 hours. If it hasn't started bubbling by 36 hours, you should start over. If the second attempt doesn't bubble by 36 hours either, then you need to try a different flour.
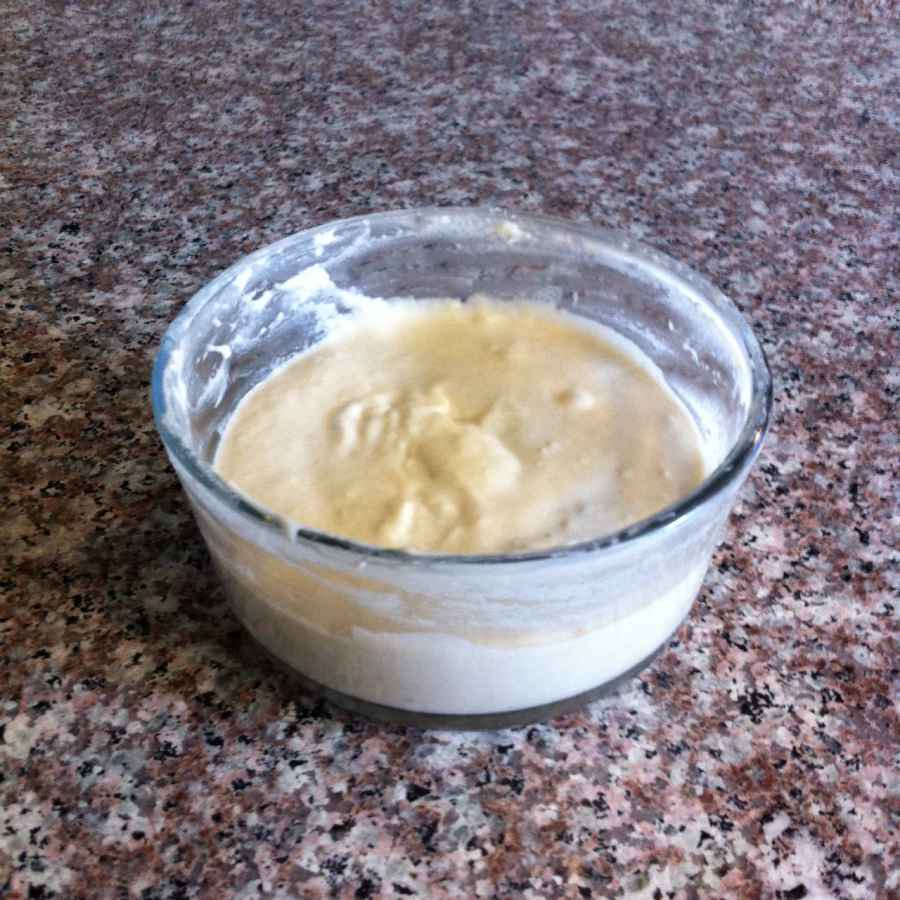
- Once it is active, remove half of the starter (200 grams of starter - 100 grams of starter = 100 grams of starter).
- Now, add back in equal parts flour and water to replace what you removed (100 grams of starter + 50 grams of water + 50 grams of flour = 200 grams of starter)
- Time to wait again. If it is active again in 12 hours, feed it. If not, wait until it is.
- Repeat steps 3-5 for a few days. In this early stage it is better to wait a little longer (making sure it is fully active), than it is to feed it too early.
- When the starter is reliably bubbling and doubling in size between feedings, begin feeding it at regular intervals every 12 hours.
- After a few days of feeding it every 12 hours, its behavior between feedings should be consistent. If it bubbles and expands consistently between feedings, you know that it is becomeing a healthy starter.
You now have a whole wheat sourdough starter. It should continue to be fed every 12 hours indefinitely. Whenever it is out at room tempterature, it needs to be fed twice a day. After being fed for two more weeks, it should be ready to be used.
If you are planning on exclusively making whole wheat doughs, then your starter is finished. However, if you plan on making doughs using white flour, then you need to begin feeding your starter white flour. By this point, the starter has its own large colonies of yeast and desirable bacteria (LAB), and no longer depends on deliveries of these from the flour. It now only needs the flour for food, which white flour can provide. In fact, white flour starters are actually more stable and tolerant of abuse (forgotten feedings) than their wheat flour peers. For this reason, many bakers recommend using a white flour starter even if you are making whole wheat doughs.
After the first feeding of white flour instead of whole wheat flour, the starter may need longer than normal to become active again. If the starter is not bubbling and growing after 12 hours, then wait until up to 36 hours before feeding it its second meal of white flour. After a few feedings it should be fully adjusted, and you can go back to feeding it every 12 hours.
Hibernating Your Starter
Keeping a starter ready for use depends on it being stored at room temperature and fed twice a day. While this means that you're always prepared to make a batch of dough, it also means that you are living with a food pet that depends on your daily attention in order to stay alive. What are you supposed to do if you're not going to be home for a few days?
Luckily, there is a way to push pause on the starter. Well, it's actually more of a super slow motion than it is an actual pause, but it can buy you up to a month before it needs to be attended to. Up until now we have only been adjusting time while holding temperature the same (storing the starter between 65-80°F), but temperature also plays a large role in the fermentation process. When temperature is lowered, fermentation slows down; when temperature is raised, fermentation speeds up. So, if we put the starter in the refrigerator, which is usually around 35°F, we can drastically slow it down.
The starter can be stored like this for up to a month before you are at risk of losing it. Just make sure that you feed it right before putting it in so that it has food to eat. When you do take it out of the refrigerator, it will need to be refreshed before it can be used to bake with again. If it has been in the fridge less than a week, then it's possible that it could be ready for use again after one feeding. But, if it has been in there longer than a week, it needs to be fully refreshed with at least three feedings before being used.
Nathan Hugon. Published: .